How to create side menu (drawer) with React Native?
Very common way for mobile apps to provide navigation between screens.
We are going to use React Navigation's drawer navigator (V5), so first, let's install it and needed dependencies:
npm install @react-navigation/native @react-navigation/drawer react-native-screens eact-native-safe-area-context react-native-reanimated react-native-gesture-handleryarn add @react-navigation/native @react-navigation/drawer react-native-screens eact-native-safe-area-context react-native-reanimated react-native-gesture-handlerI have created new React Native project to demonstrate this and keep it as simple as possible with following command:
npx react-native init rndrawerexampleThis created basic boilerplate and we can run our app instantly with
npx react-native run-iosnpx react-native run-androidNow, let's add some screens which we can navigate between. I'm going to create Home and Settings screens. Add these screens into src/views directory. If you like to add views to other place, feel free to modify code accordingly.
// ./src/views/Home.js
import React from 'react';
import {Text, View} from 'react-native';

const Home = ({navigation}) => {
    return (
        <View style={{flex: 1, alignItems: 'center', justifyContent: 'center'}}>
            <Text>Home screen</Text>
        </View>
    );
};

export default Home;
// ./src/views/Settings.js
import React from 'react';
import {Text, View} from 'react-native';
const Settings = ({navigation}) => {
return (
<View style={{flex: 1, alignItems: 'center', justifyContent: 'center'}}>
<Text>Settings screen</Text>
</View>
);
};
export default Settings;Screens in place, let's move to App.js to add side menu (Drawer) and make it navigate between screens.
// ./App.js
import React from 'react';

import {createDrawerNavigator} from '@react-navigation/drawer';
import {NavigationContainer} from '@react-navigation/native';

import Home from './src/views/Home';
import Settings from './src/views/Settings';

const Drawer = createDrawerNavigator();

const App = () => {
    return (
        <NavigationContainer>
            <Drawer.Navigator initialRouteName="Home">
                <Drawer.Screen name="Home" component={Home} />
                <Drawer.Screen name="Settings" component={Settings} />
            </Drawer.Navigator>
        </NavigationContainer>
    );
};

export default App;
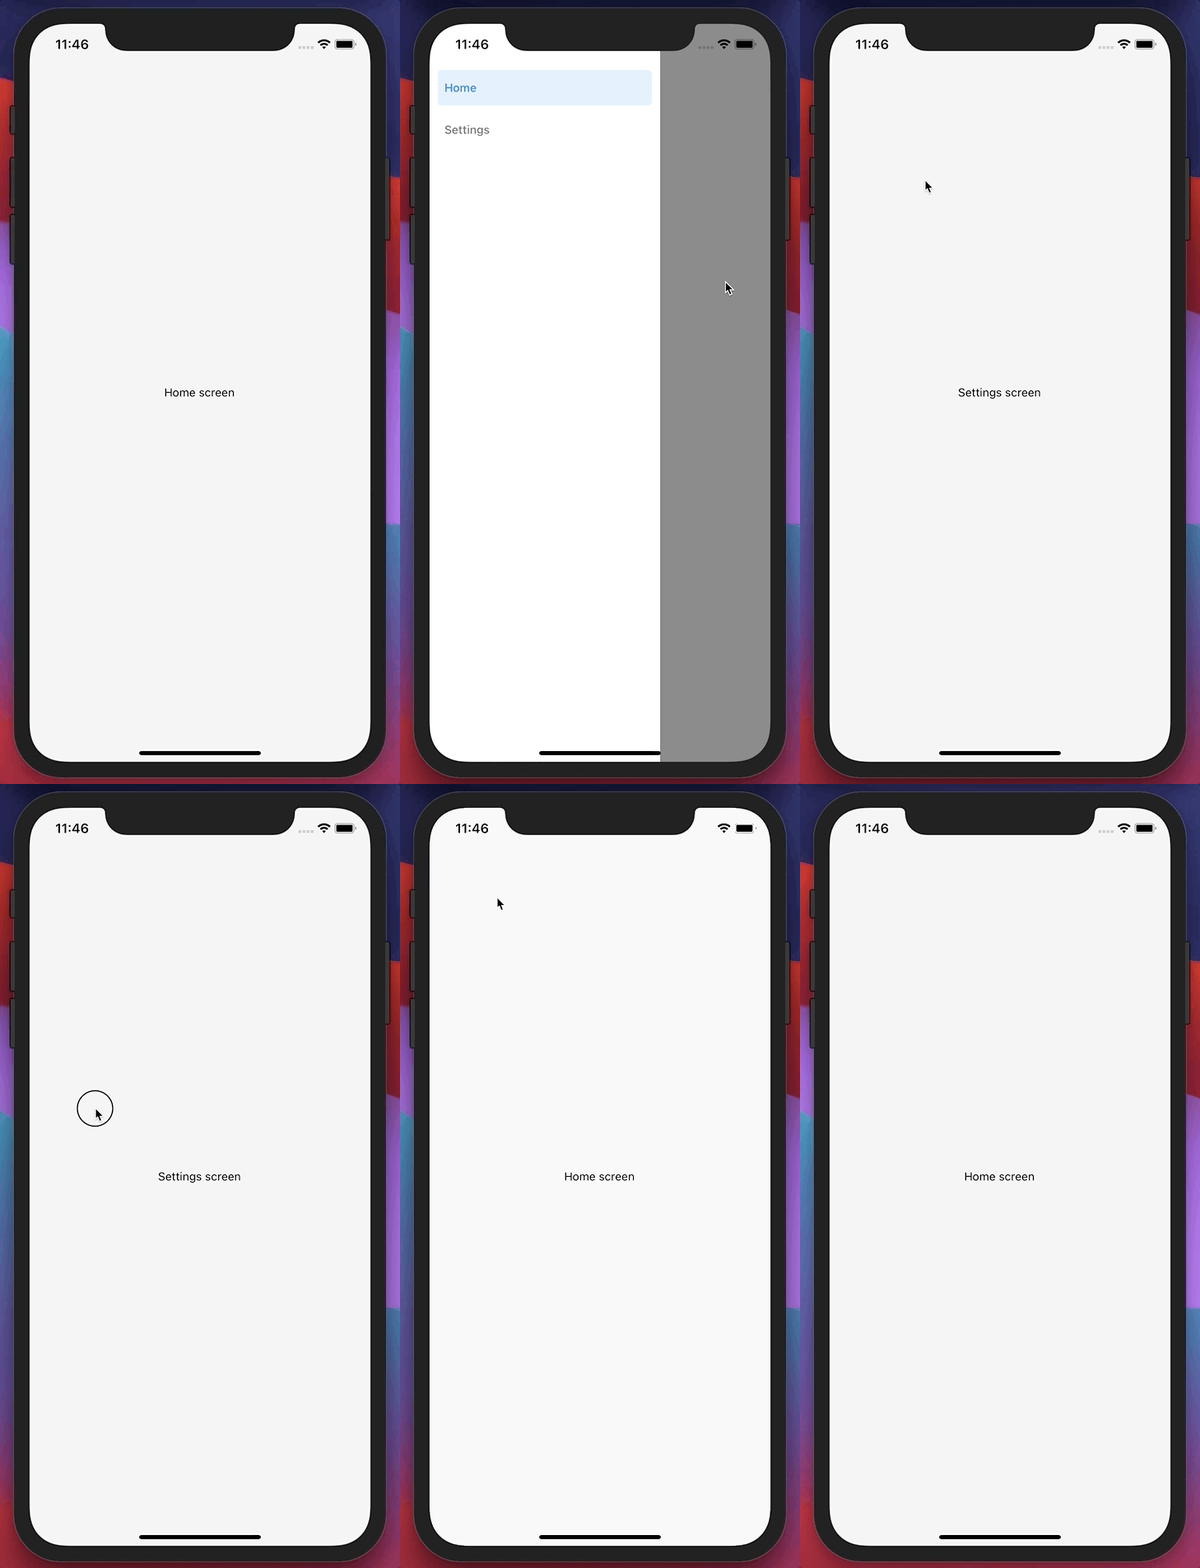
And our result looks like this

Opening and closing menu permalink
If you want to add custom button to open drawer, you can do that with calling helpers provided for you. There's also toggle helper.
navigation.openDrawer();
navigation.closeDrawer();

// Open if close, close if open
navigation.toggleDrawer();
Let's add custom button to open our side menu without dragging from left. Usually this button is styled like burger button, but for example, we will create simple button with title "Open menu".
Add Button import to our views.
import {Text, View, Button} from 'react-native';And add Button inside view. Just above <Text>.
<Button title="Open menu" onPress={() => navigation.openDrawer()} />Usually if you would use one peace of code multiple times, then you are better off making reusable component. For this example, we will add Button for both views.
Home screen final code looks like this:
// ./src/views/Home.js
import React from 'react';
import {Text, View, Button} from 'react-native';

const Home = ({navigation}) => {
    return (
        <View style=>
            <Button title="Open menu" onPress={() => navigation.openDrawer()} />
            <Text>Home screen</Text>
        </View>
    );
};

export default Home;
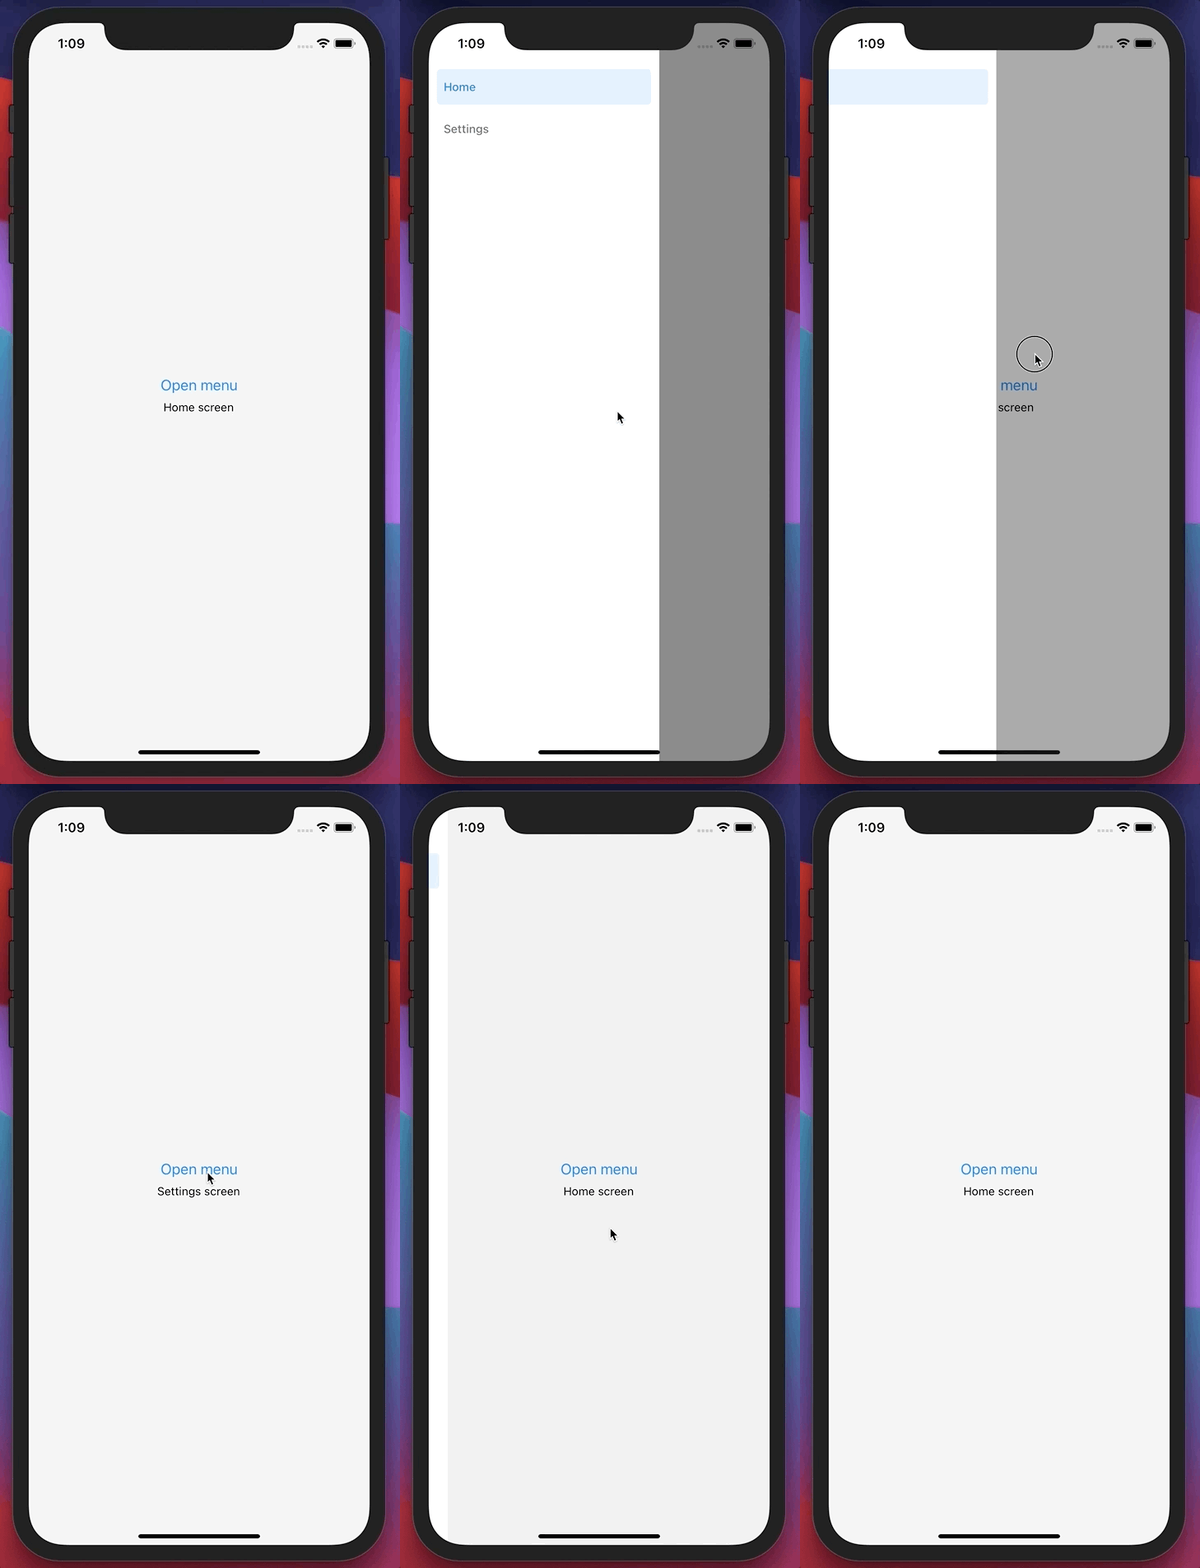
And final UI

Detect if menu is opened or closed permalink
import { useIsDrawerOpen } from '@react-navigation/drawer';

const isDrawerOpen = useIsDrawerOpen(); // boolean